
 When your phone dies or the signal drops, a map and compass can save the day. Here is how to use them.

How to Read a Trail Map Like a Backcountry Pro
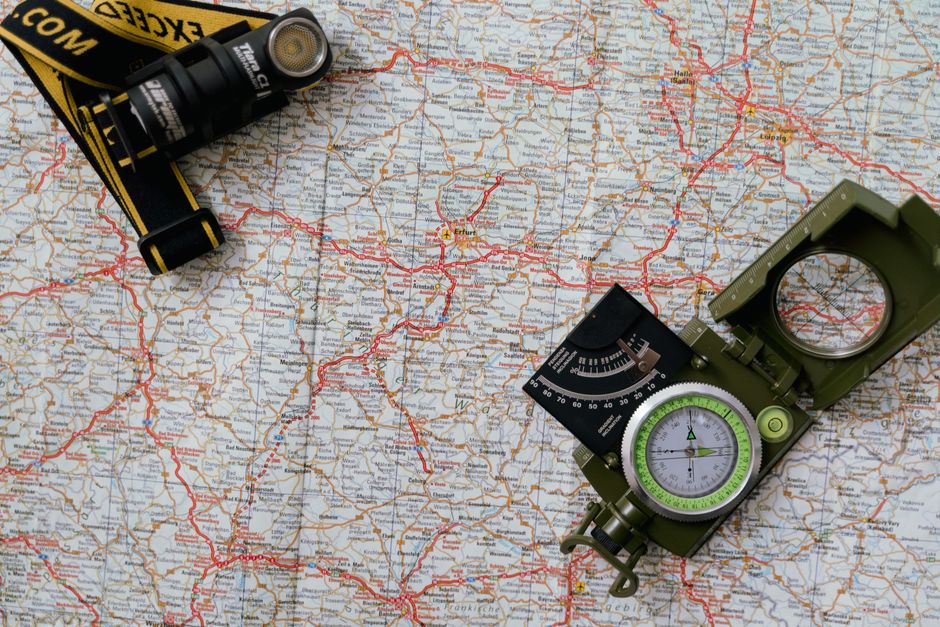
There is a particular kind of confidence that comes from knowing exactly where you are on a trail, even when the path fades into a pile of rocks and the blazes seem to have gone on holiday. That confidence does not come from a fancy app. It comes from understanding the paper map stuffed in your hip pocket and the way the land actually behaves beneath your boots.
Reading a trail map is less about memorizing symbols and more about translating a flat sheet of paper into a living landscape of ridges, creeks, and switchbacks. Once you get the hang of it, you will start noticing details that most hikers walk right past.
Start With the Big Shapes, Not the Squiggles
The first mistake people make is diving straight into the trail line itself. Instead, zoom out and study the overall shape of the terrain. Find the major ridges, the valleys, and the water. Those big features are your anchors. If you know you are walking up a valley with a creek on your left, you have already narrowed your location down to a handful of possibilities.
Contour lines are the language the map uses to describe elevation. Lines bunched tightly together mean steep ground. Wide-spaced lines mean gentler slopes. When you are standing at the base of a climb, glance at the map and ask whether the contour spacing matches what your legs are telling you. That simple check keeps your brain and your body in agreement.
Pay attention to where the trail crosses a contour line versus where it runs parallel to one. A trail that runs parallel to a steep set of contours is likely a long traverse along a hillside. A trail crossing them is climbing or descending steadily. This is the kind of reading that turns a confusing tangle of lines into a story about the route ahead.
Match the Map to What You Can See and Feel
Navigation is a constant conversation between the map and the world. Every time you reach a junction, a creek, or a clearing, treat it as a checkpoint. Look around, identify two or three features, and find them on the paper. If they line up, you are on track. If they do not, stop and figure out why before you keep walking.
Your compass is a quiet partner in this process. You do not need to be a orienteering champion to use it well. Simply setting the map to match the ground, using the compass to align north, makes everything easier to read. From there, take a bearing on a distant landmark and see whether the trail is heading where you expect.
Time and pace are the other half of the puzzle. Most hikers have a rough sense of how fast they move, and that sense is a genuine navigation tool. If the map says a segment should take forty minutes and you have been walking for an hour, something is off. Maybe you are slower than usual, or maybe you missed a turn. Either way, the discrepancy is a signal worth investigating.
The more you practice this map-to-land habit, the less you will rely on luck. You will start to anticipate the terrain before you see it, and that is the real gift of map reading. It turns a walk into a conversation with the landscape, and it keeps you found even when the batteries die.